How To Heat Treat Flour: The Ultimate Guide For Safe Baking
Have you ever heard of flour bugs or weevils ruining your baking projects? Yeah, it’s a real thing, my friend. Heat treating flour has become a baking essential to keep those creepy crawlies away and ensure your treats are safe to eat. Whether you're making cookies, cakes, or no-bake desserts, knowing how to heat treat flour is a game-changer. In this guide, we’ll break it down step by step so you can bake with confidence.
Let’s face it, baking is all about precision, but sometimes we overlook the hidden dangers lurking in our pantry. Flour, despite being a kitchen staple, can harbor unwanted guests like bacteria or pantry pests. That's where heat treating flour comes in. This simple process ensures your flour is safe to use in both baked and raw recipes.
Now, before we dive into the nitty-gritty, let me tell you something cool. Heat treating flour is not just about safety—it’s also about enhancing the texture and flavor of your baked goods. So, whether you're a seasoned baker or just starting out, this guide will help you master the art of heat treating flour. Let’s get started!
- Spotlight On Black Actor With Wonky Eye Breaking Stereotypes And Shining Bright
- Owings Mills Costco The Ultimate Shopping Destination You Need To Know About
Why Heat Treating Flour Matters
Alright, let’s talk about the elephant in the kitchen—flour safety. Raw flour can contain harmful bacteria like E. coli, which is why heat treating flour is so important. This process kills any potential pathogens, making it safe for consumption. Plus, it’s a must if you’re working on recipes that involve raw flour, like cookie dough or no-bake treats.
Here are a few reasons why heat treating flour is crucial:
- Eliminates harmful bacteria and pests
- Makes raw flour safe for eating
- Improves the texture of your baked goods
- Extends the shelf life of your flour
So, if you want to avoid any unpleasant surprises in your baking adventures, heat treating flour is the way to go.
- Kent Mccord The Iconic Actor Who Left A Legacy In Law Amp Order
- What Is The Significance Of The House Of Burgesses A Deep Dive Into Americas First Legislative Assembly
What You Need to Know About Heat Treating Flour
Before you start heat treating flour, it’s important to understand the basics. Heat treating flour involves exposing it to high temperatures to kill any harmful bacteria or pests. This process doesn’t alter the taste or nutritional value of the flour, so you can rest assured that your recipes will turn out just as delicious.
Step-by-Step Guide to Heat Treating Flour
Now, let’s get into the nitty-gritty of how to heat treat flour. Follow these simple steps, and you’ll be good to go:
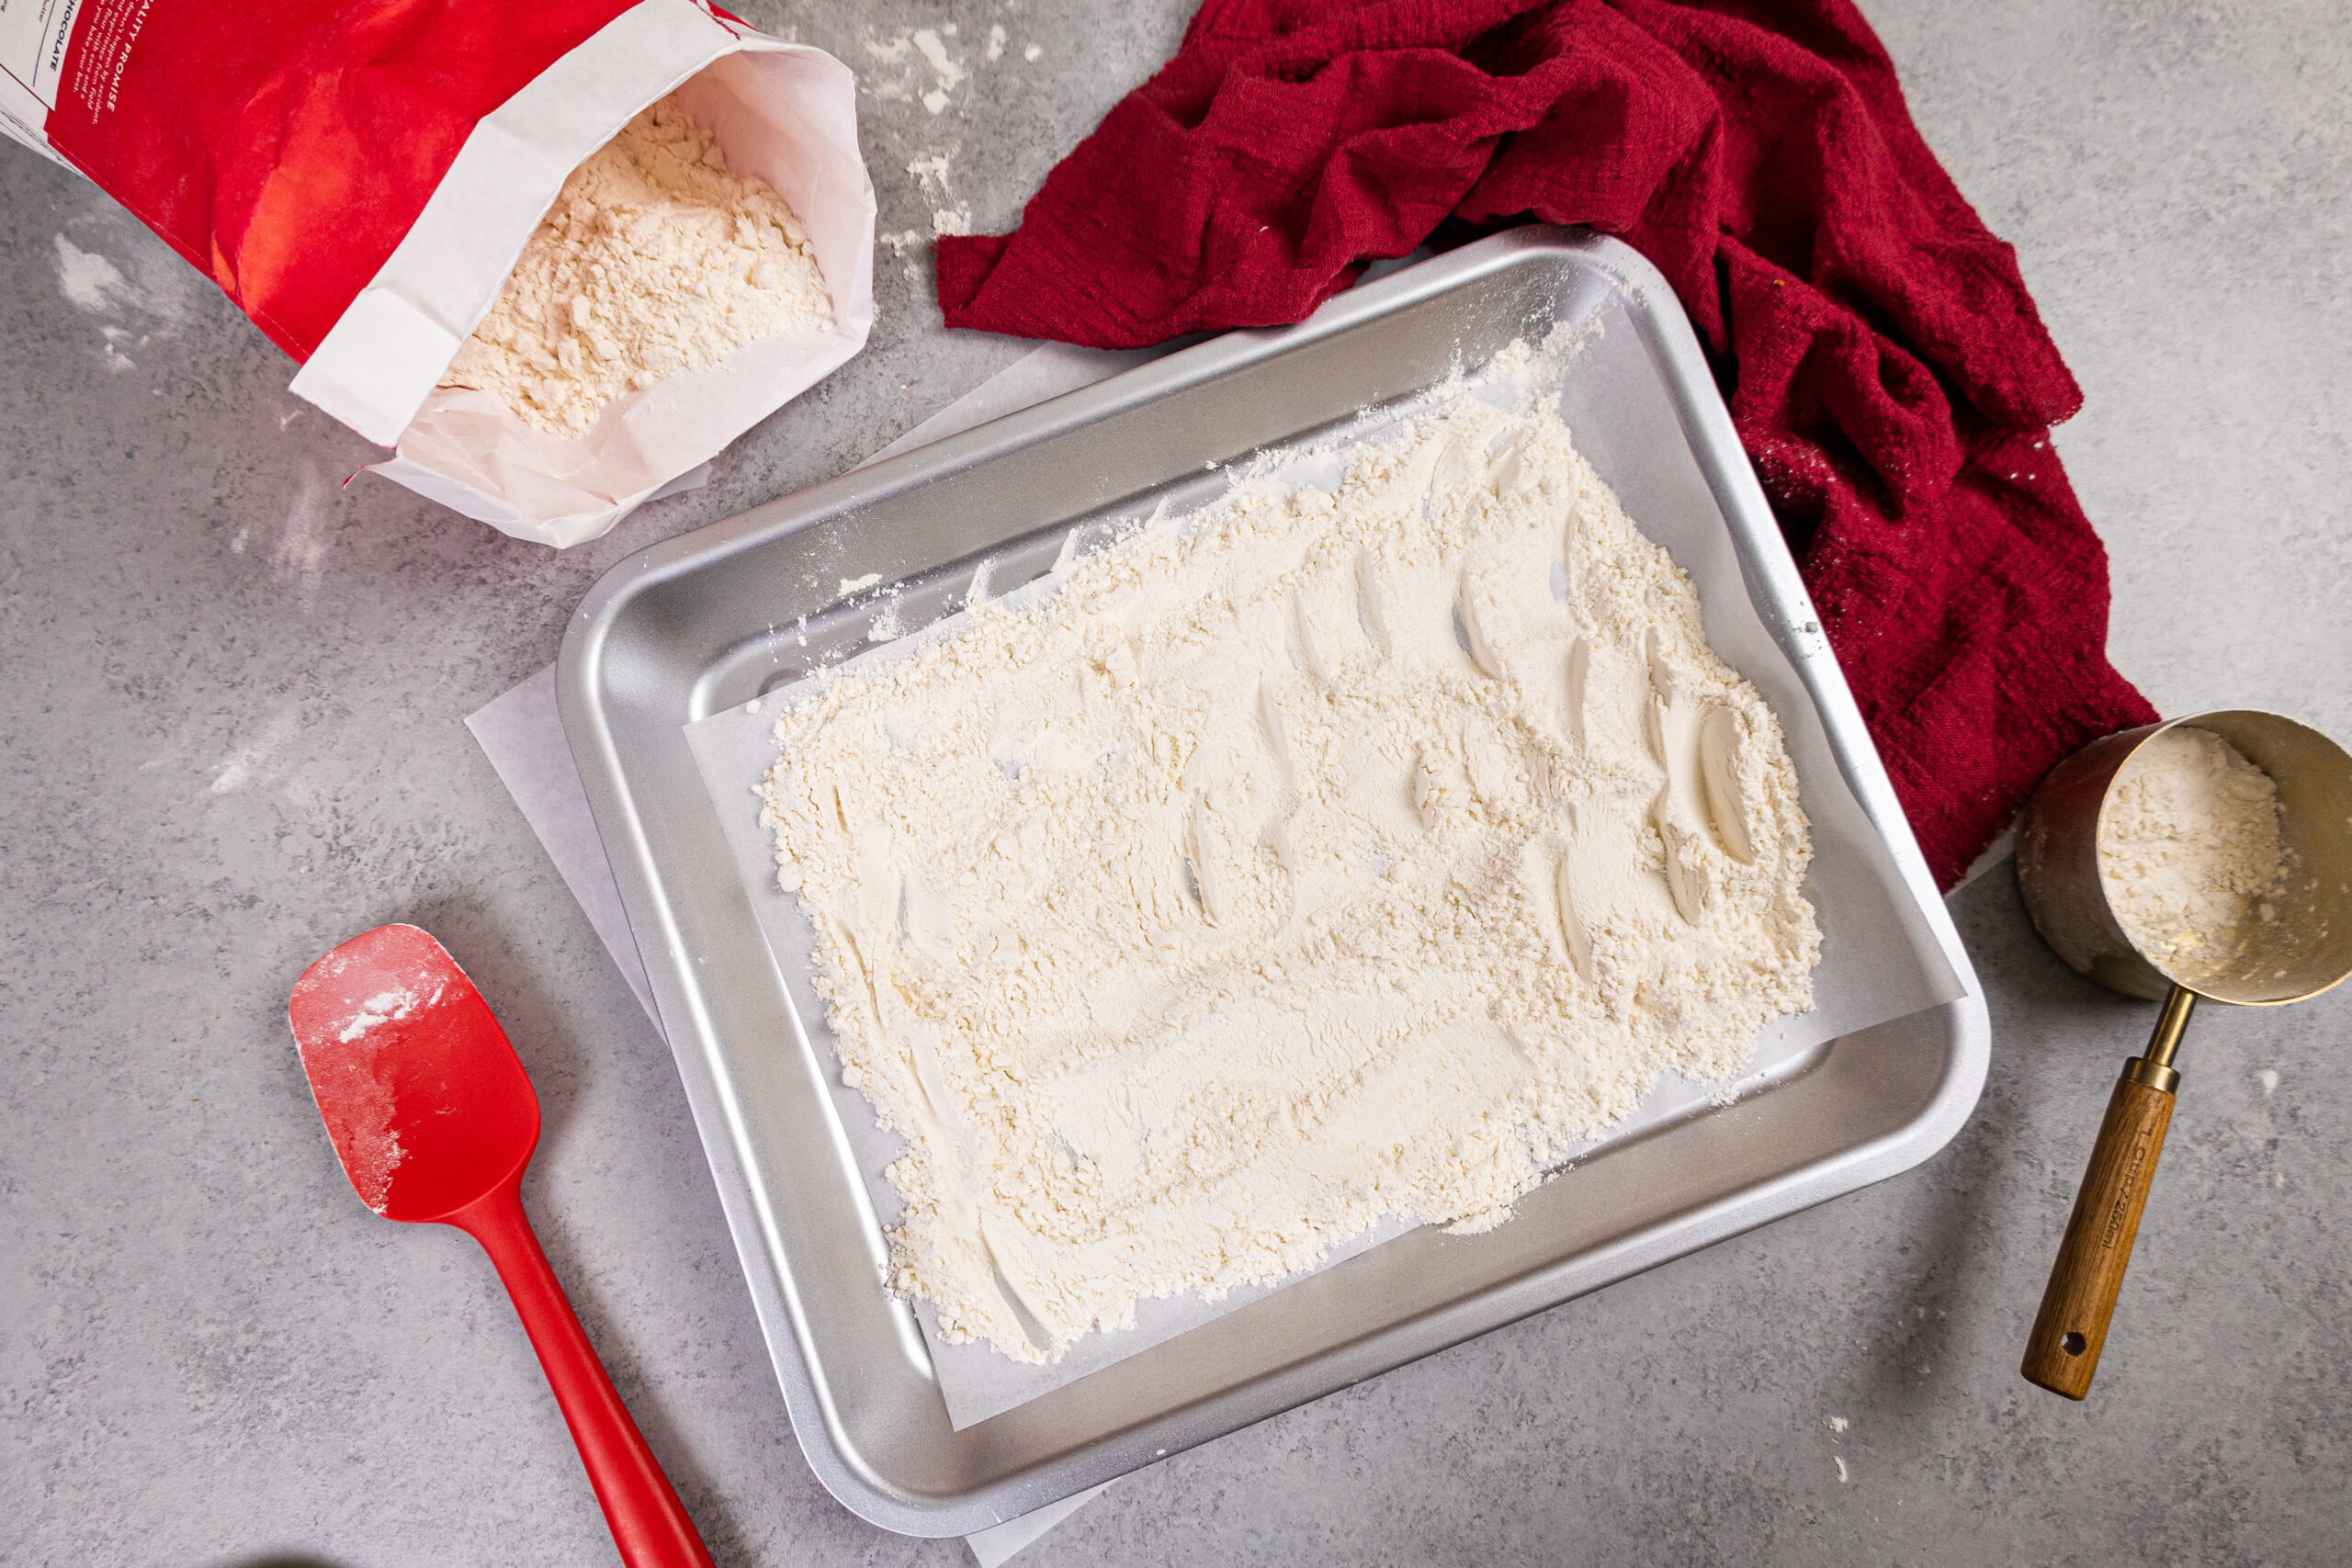
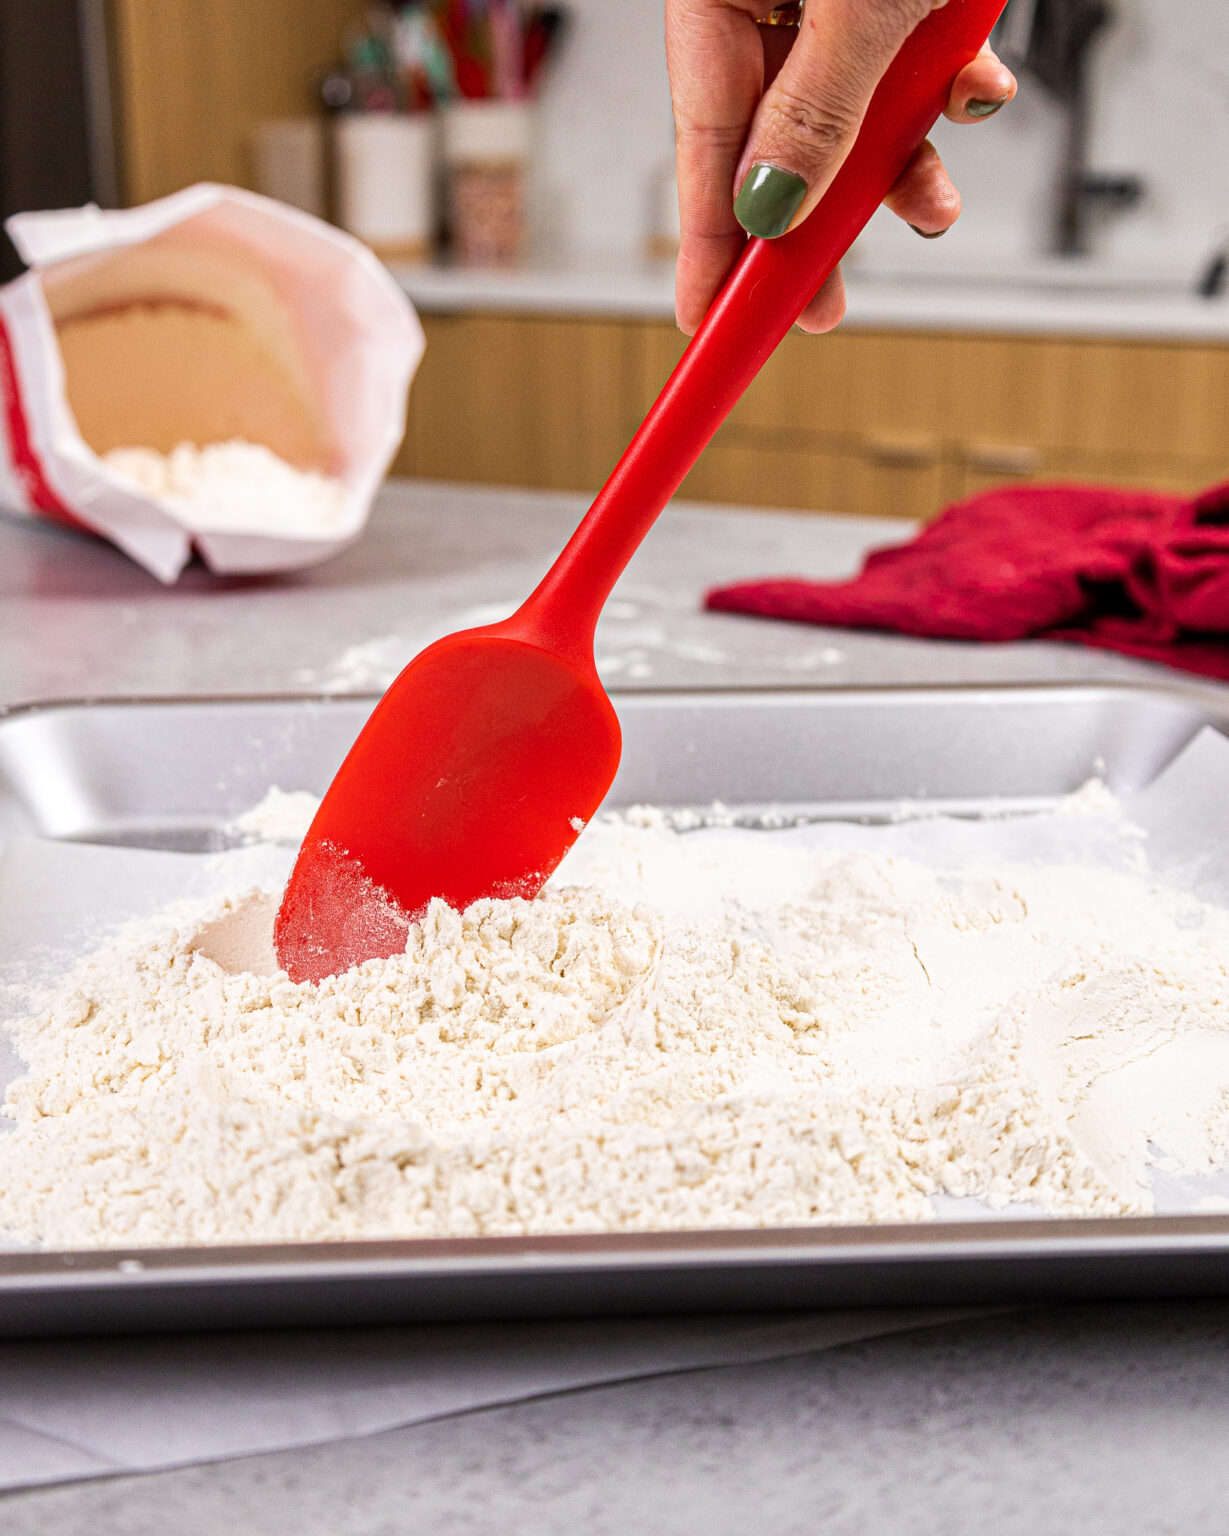
- Preheat your oven to 350°F (175°C).
- Spread the flour evenly on a baking sheet.
- Bake the flour for about 5 minutes, stirring occasionally.
- Use a thermometer to ensure the flour reaches an internal temperature of 165°F (74°C).
- Let the flour cool completely before using it in your recipes.
It’s that easy! By following these steps, you’ll have perfectly heat-treated flour ready for your next baking project.
Common Myths About Heat Treating Flour
There are a lot of misconceptions out there about heat treating flour. Let’s debunk some of the most common ones:
- Myth 1: Heat treating flour ruins its taste. Nope, it doesn’t. The flavor remains intact.
- Myth 2: You can skip heat treating if you’re baking. Wrong! Even baked goods can benefit from heat-treated flour.
- Myth 3: Freezing flour is just as effective. While freezing can kill pests, it doesn’t eliminate bacteria.
So, don’t fall for these myths. Heat treating flour is the safest and most effective method.
Best Practices for Heat Treating Flour
To ensure your heat-treated flour is safe and ready to use, follow these best practices:
- Always use a food thermometer to check the temperature.
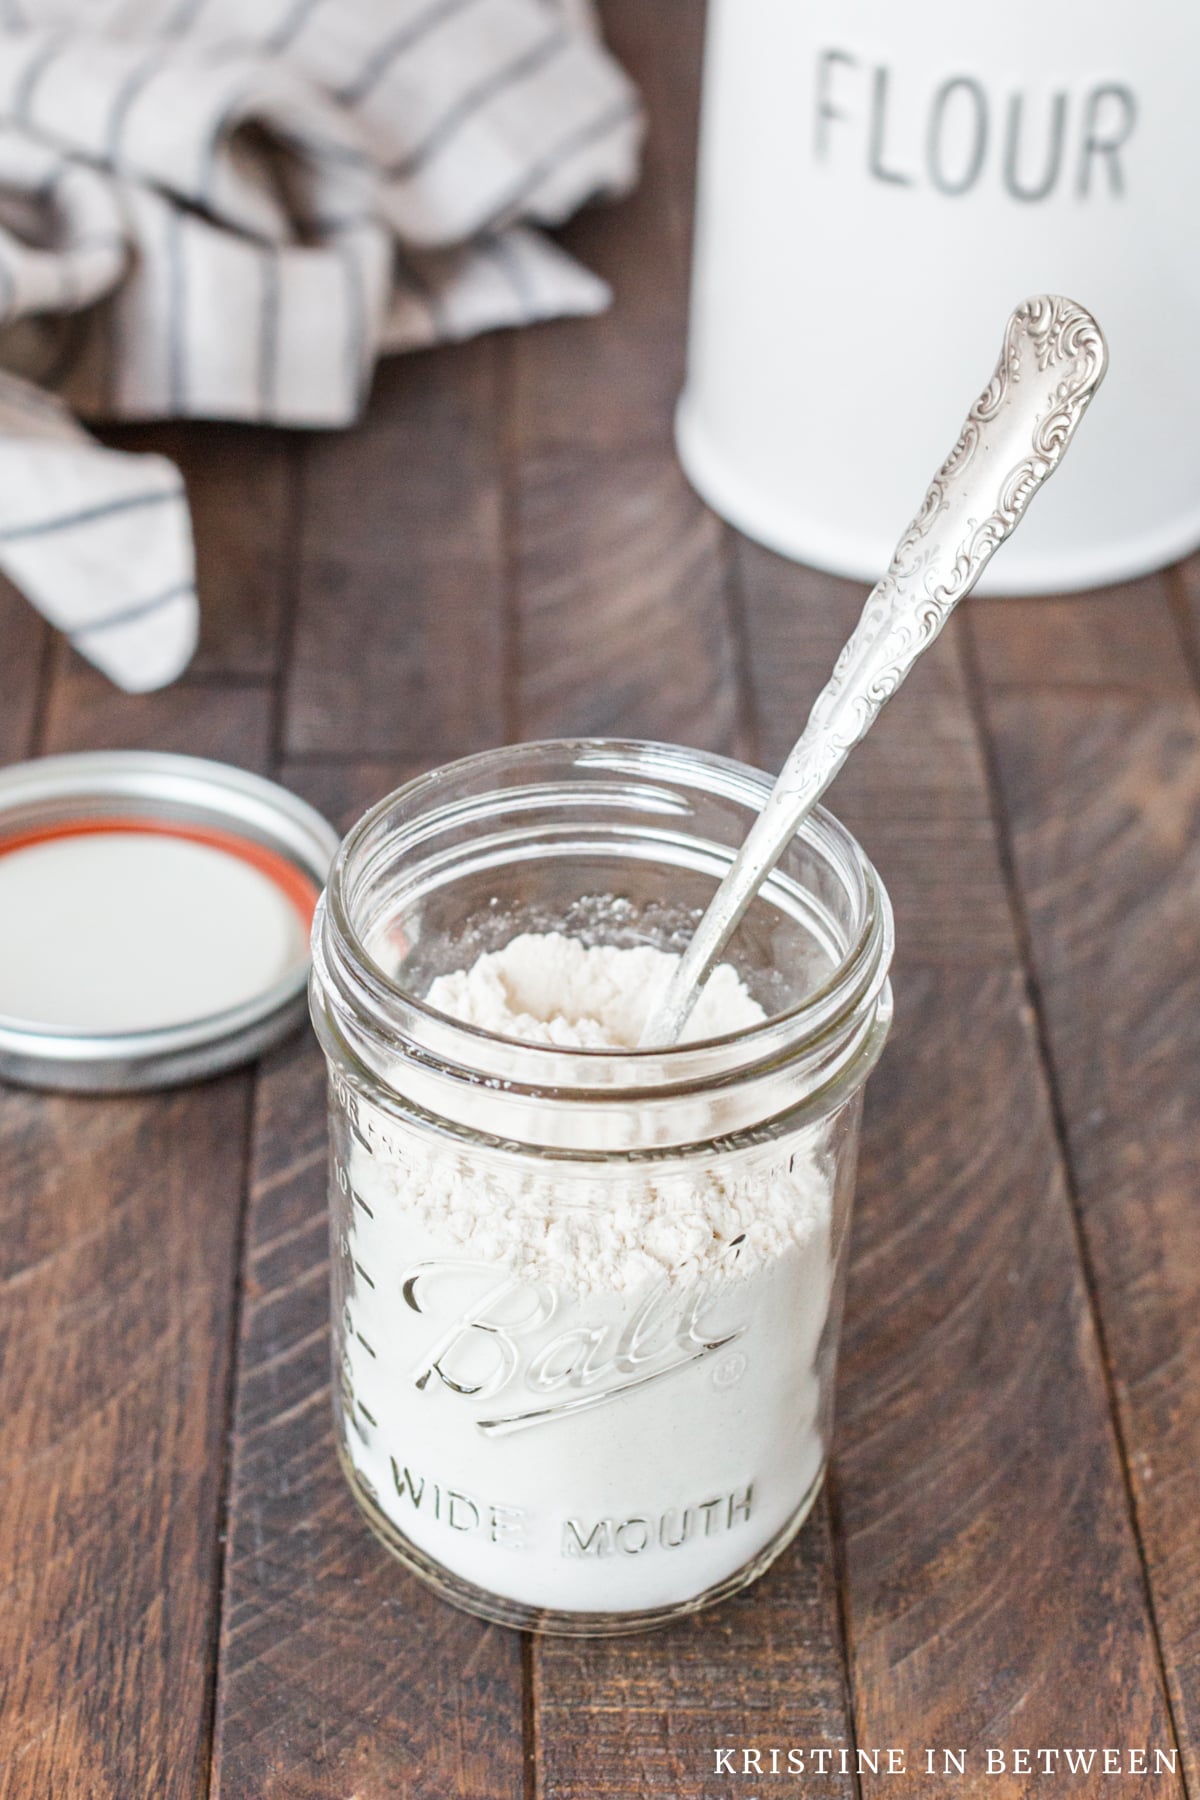
- Store heat-treated flour in an airtight container.
- Label and date your heat-treated flour to keep track of its freshness.
- Use heat-treated flour immediately or freeze it for long-term storage.
These tips will help you maintain the quality and safety of your heat-treated flour.
Heat Treating Flour for Different Types of Recipes
Depending on the recipe, the way you heat treat flour might vary slightly. Here’s how you can adapt the process for different types of recipes:
No-Bake Treats
For no-bake recipes, it’s essential to heat treat flour thoroughly to ensure it’s safe to eat. Follow the standard heat treating method mentioned earlier, and let the flour cool completely before using it in your recipe.
Baked Goods
While baking usually involves high temperatures, heat treating flour beforehand can still be beneficial. It ensures that any harmful bacteria are eliminated before the baking process begins.
Tips for Storing Heat-Treated Flour
Proper storage is key to maintaining the quality of your heat-treated flour. Here are some tips to keep it fresh:
- Use airtight containers to prevent moisture and pests from getting in.
- Store in a cool, dry place away from direct sunlight.
- Freeze heat-treated flour if you’re not planning to use it immediately.
- Label your containers with the date of heat treatment for easy reference.
By following these storage tips, you’ll ensure your heat-treated flour stays fresh and ready to use whenever you need it.
Heat Treating Flour vs. Other Flour Treatments
There are several methods for treating flour, but heat treating stands out as the most effective. Let’s compare it with other popular methods:
- Freezing: Freezing can kill pests but doesn’t eliminate bacteria.
- Microwaving: Microwaving can heat flour unevenly, which might not be effective.
- Blanching: Blanching is mainly used for vegetables, not flour.
Heat treating flour is the most reliable method for ensuring its safety and quality.
Health Benefits of Heat Treating Flour
Heat treating flour not only makes it safer but also offers some health benefits. By eliminating harmful bacteria and pests, you reduce the risk of foodborne illnesses. Plus, it ensures that your baked goods are free from contaminants, making them healthier to consume.
So, if you’re looking for a way to make your baking safer and healthier, heat treating flour is the way to go.
Conclusion
Heat treating flour is a simple yet effective way to ensure the safety and quality of your baking projects. By following the steps outlined in this guide, you can confidently use heat-treated flour in both baked and raw recipes. Remember to store it properly and label it for easy reference.
Now that you know how to heat treat flour, it’s time to put your newfound knowledge into practice. Share this article with your fellow bakers and let’s make baking safer and more enjoyable for everyone. Happy baking, my friend!
Table of Contents
- Why Heat Treating Flour Matters
- What You Need to Know About Heat Treating Flour
- Step-by-Step Guide to Heat Treating Flour
- Common Myths About Heat Treating Flour
- Best Practices for Heat Treating Flour
- Heat Treating Flour for Different Types of Recipes
- Tips for Storing Heat-Treated Flour
- Heat Treating Flour vs. Other Flour Treatments
- Health Benefits of Heat Treating Flour
- Conclusion
- Bathazar Getty A Closer Look At The Iconic Heirs Life Style And Influence
- Meet The Fab Four Names Of Beatles Band Members And Their Legacy
How to Heat Treat Flour Quick & Easy Process
How to Heat Treat Flour Quick & Easy Process
How To Heat Treat Flour in the Microwave Kristine in Between
