How Do I Heat Treat Flour: The Ultimate Guide For Safe Baking
Have you ever wondered how to heat treat flour for your next baking project? Well, buckle up because this is about to get real interesting! If you're into baking or planning to experiment with recipes that involve raw flour, knowing how to heat treat flour is a game-changer. It's not just about making your food taste better—it’s also about keeping yourself and your loved ones safe from harmful bacteria. So, let’s dive right in!
Let's be honest here—flour doesn't exactly scream "danger," but trust me, it can be a sneaky little villain if you're not careful. Raw flour can carry bacteria like E. coli, which is why heating it before use is crucial. In this guide, we’ll break down everything you need to know about heat treating flour, from the science behind it to the easiest methods you can use at home.
Now, you might be thinking, "Why do I need to go through all this trouble?" Well, my friend, if you’ve ever indulged in cookie dough or made edible playdough with your kids, you’ve already come face-to-face with raw flour. By learning how to heat treat flour, you’ll be able to enjoy these treats without worrying about foodborne illnesses. Ready to get started? Let’s go!
- Starbucks Game 2024 Your Ultimate Guide To Winning Big While Enjoyinrsquo That Coffee Buzz
- Who Is The Lead Singer Of Journey Discover The Voice Behind The Hits
Why Should You Heat Treat Flour?
Alright, so you’ve heard the buzz about heat treating flour, but what’s the big deal? Well, raw flour can harbor some nasty bacteria, like E. coli, salmonella, and other pathogens that can make you sick. These bad boys can survive for a long time in dry environments, and since flour isn’t treated like other ingredients (like eggs or milk), it’s up to you to ensure it’s safe to eat.
When you heat treat flour, you’re essentially killing off any harmful bacteria that might be lurking inside. This process makes it safe to use in recipes that don’t involve cooking or baking, such as no-bake cookies, cookie dough ice cream, or even edible playdough. It’s like giving your flour a spa day, but instead of facials, it gets a good old-fashioned heat bath.
What Happens If You Don’t Heat Treat Flour?
Skipping the heat treatment step might seem like no big deal, but it can lead to some serious consequences. Consuming raw flour can expose you to harmful bacteria, which can cause food poisoning. Symptoms like nausea, vomiting, diarrhea, and fever are not exactly what you want after indulging in a batch of cookie dough. Plus, if you’ve got little ones around, they’re even more vulnerable to these illnesses.
- Dr Sebi List The Ultimate Guide To Healing Foods And Their Benefits
- What To Do When Youre Experiencing Cough With Stomach Pain
Here’s a quick rundown of what can happen if you don’t heat treat your flour:
- Increased risk of foodborne illnesses
- Possible contamination with E. coli or salmonella
- Unpleasant side effects like stomach cramps and fever
- Higher risk for kids, pregnant women, and elderly people
So, yeah, it’s worth the extra step to keep everyone safe and happy!
How Do I Heat Treat Flour: The Basics
Alright, let’s get into the nitty-gritty of how to heat treat flour. The process is pretty straightforward, and you probably already have everything you need in your kitchen. The goal is to raise the temperature of the flour to a point where any harmful bacteria are killed off, without ruining its texture or flavor.
There are a few different methods you can use to heat treat flour, depending on what tools you have available. The most common method involves using your microwave or oven, but we’ll cover some other options too. Whatever method you choose, just make sure you’re following the steps carefully to get the best results.
Method 1: Oven-Baked Heat Treatment
This is probably the easiest and most reliable way to heat treat flour. All you need is an oven, a baking sheet, and a thermometer (optional but recommended). Here’s how you do it:
- Preheat your oven to 350°F (175°C).
- Spread the flour evenly on a baking sheet, making sure it’s no more than 1/2 inch thick.
- Bake the flour for about 5-10 minutes, stirring occasionally to ensure even heating.
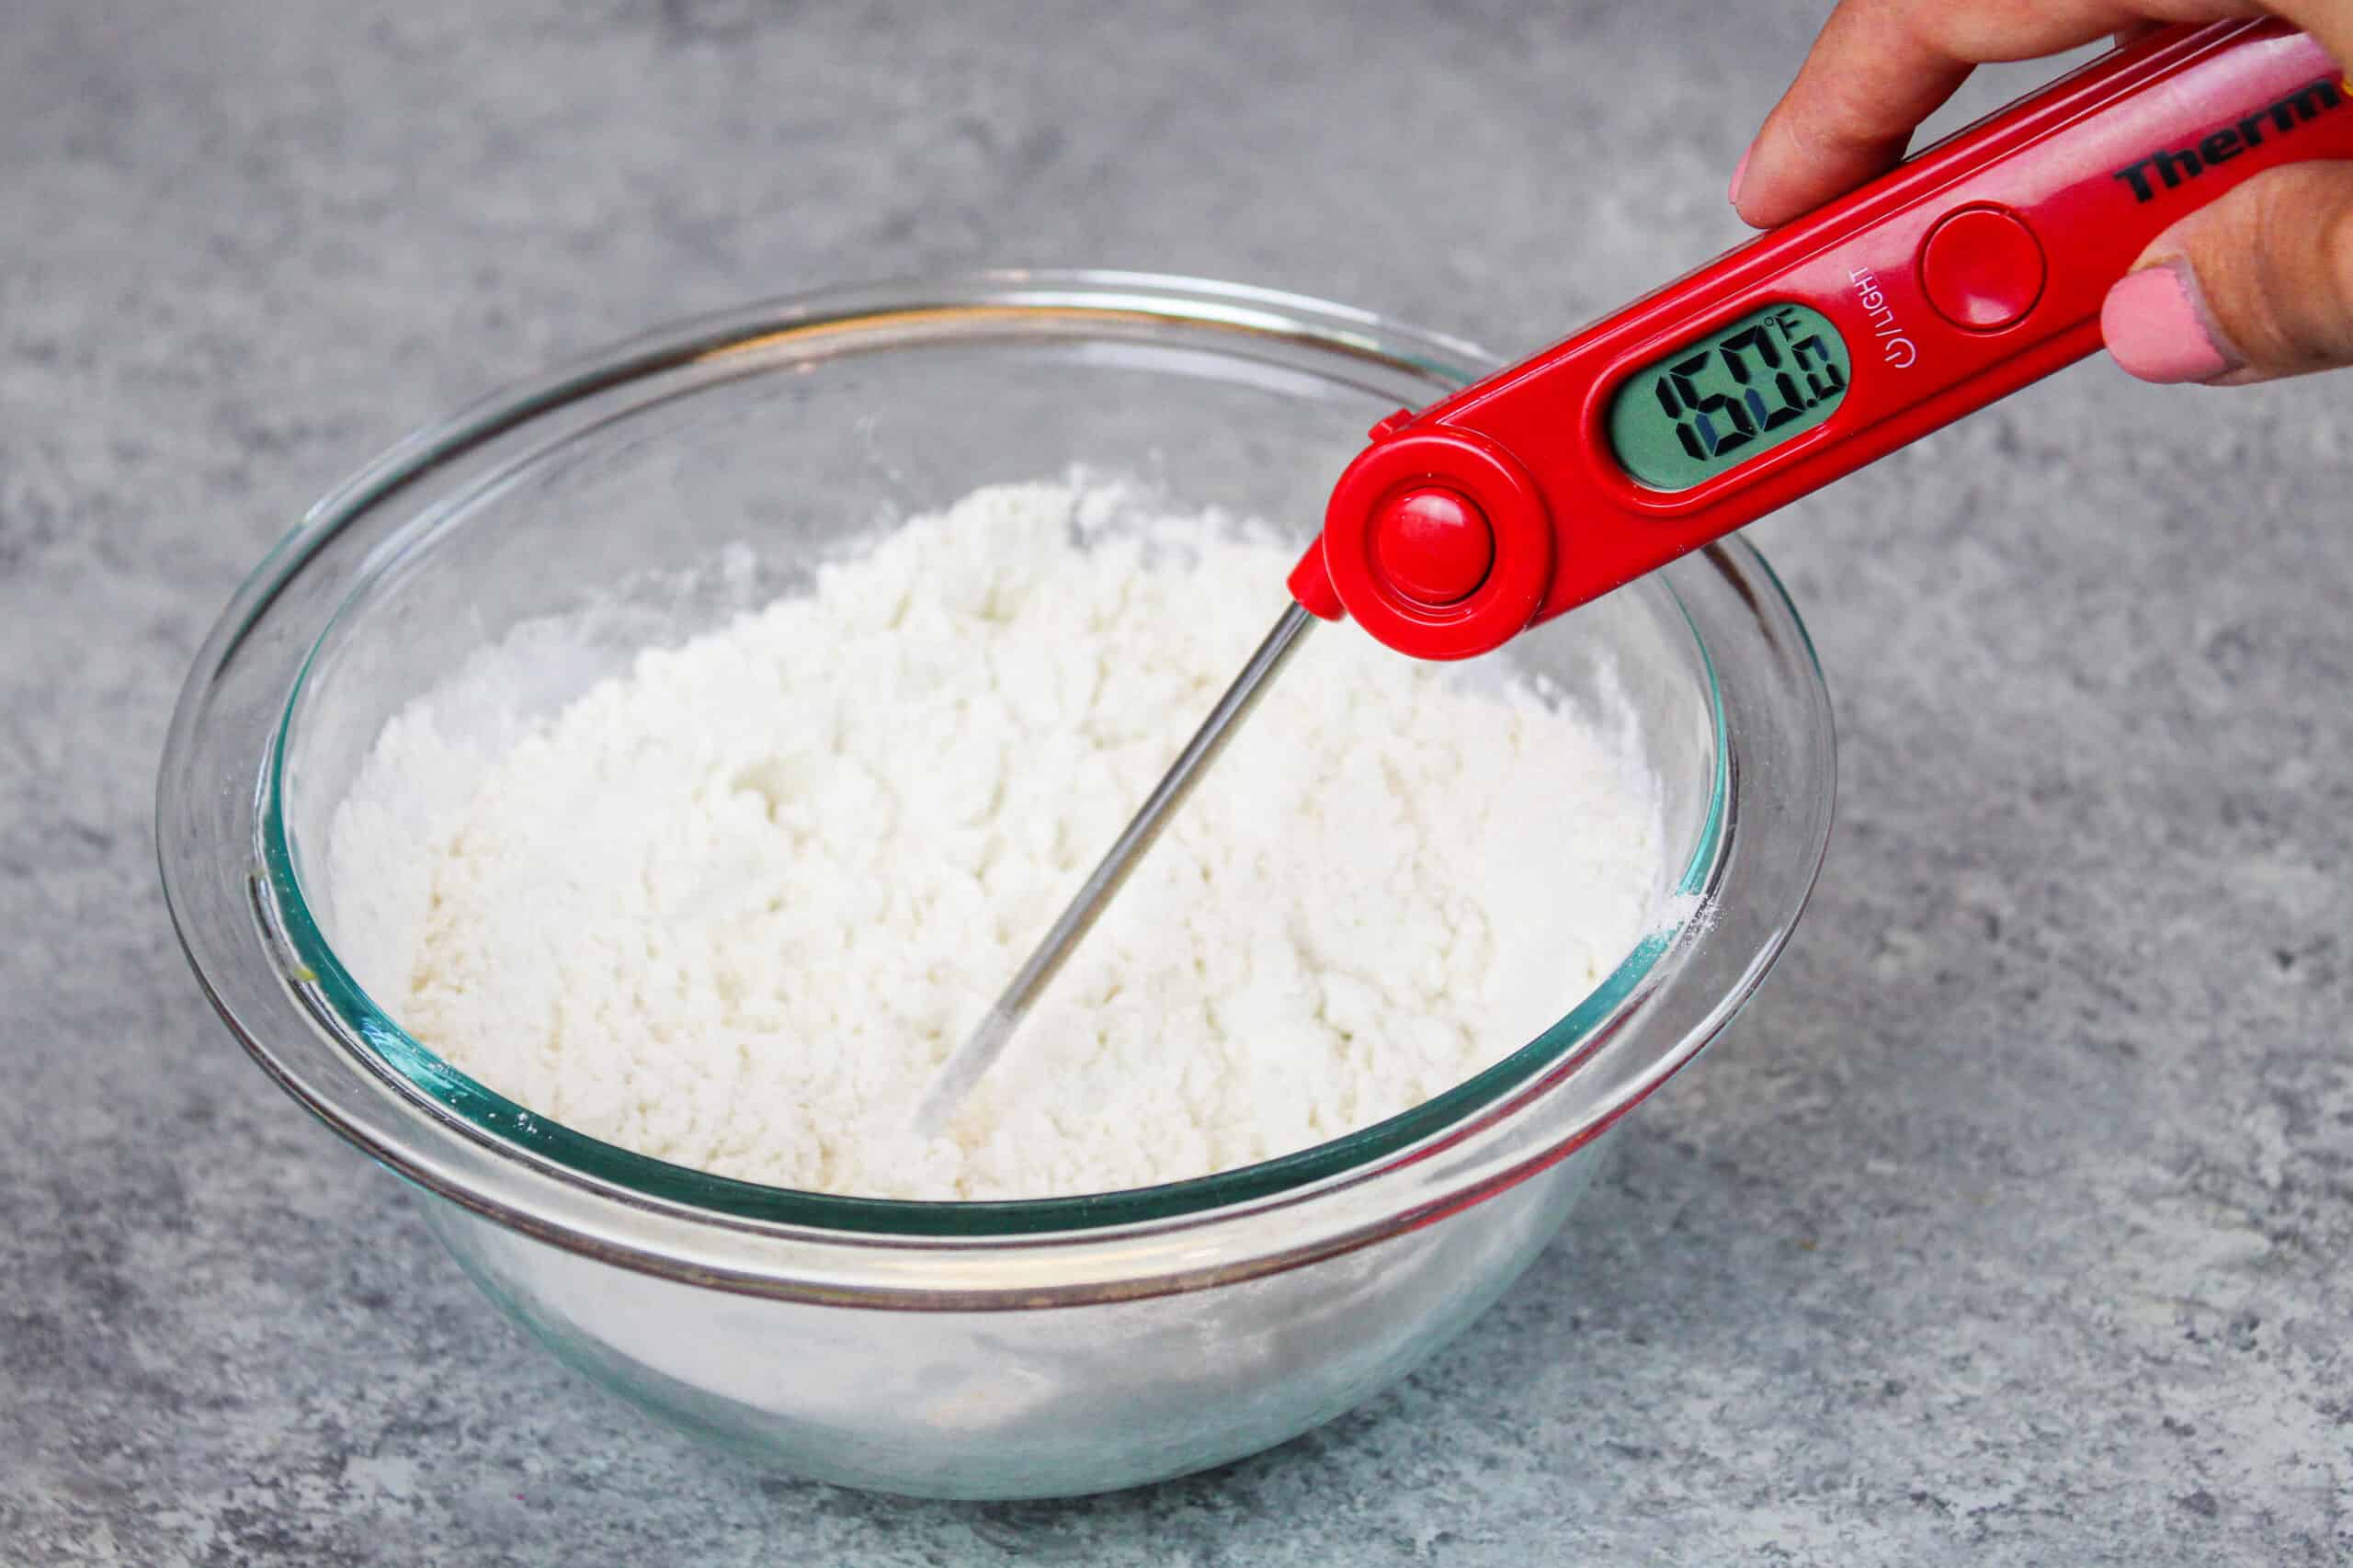
- Use a thermometer to check that the flour has reached at least 165°F (74°C).
- Let the flour cool completely before using it in your recipes.
This method is great because it’s easy to monitor the temperature and ensures that the flour is evenly heated. Plus, you can treat a large batch at once, which is perfect if you’re planning to bake a lot.
Method 2: Microwave Heat Treatment
If you don’t feel like firing up the oven, the microwave is a quick and convenient alternative. Keep in mind that this method works best for smaller quantities of flour, so it’s ideal for one-off projects. Here’s what you do:
- Measure out the amount of flour you need for your recipe.
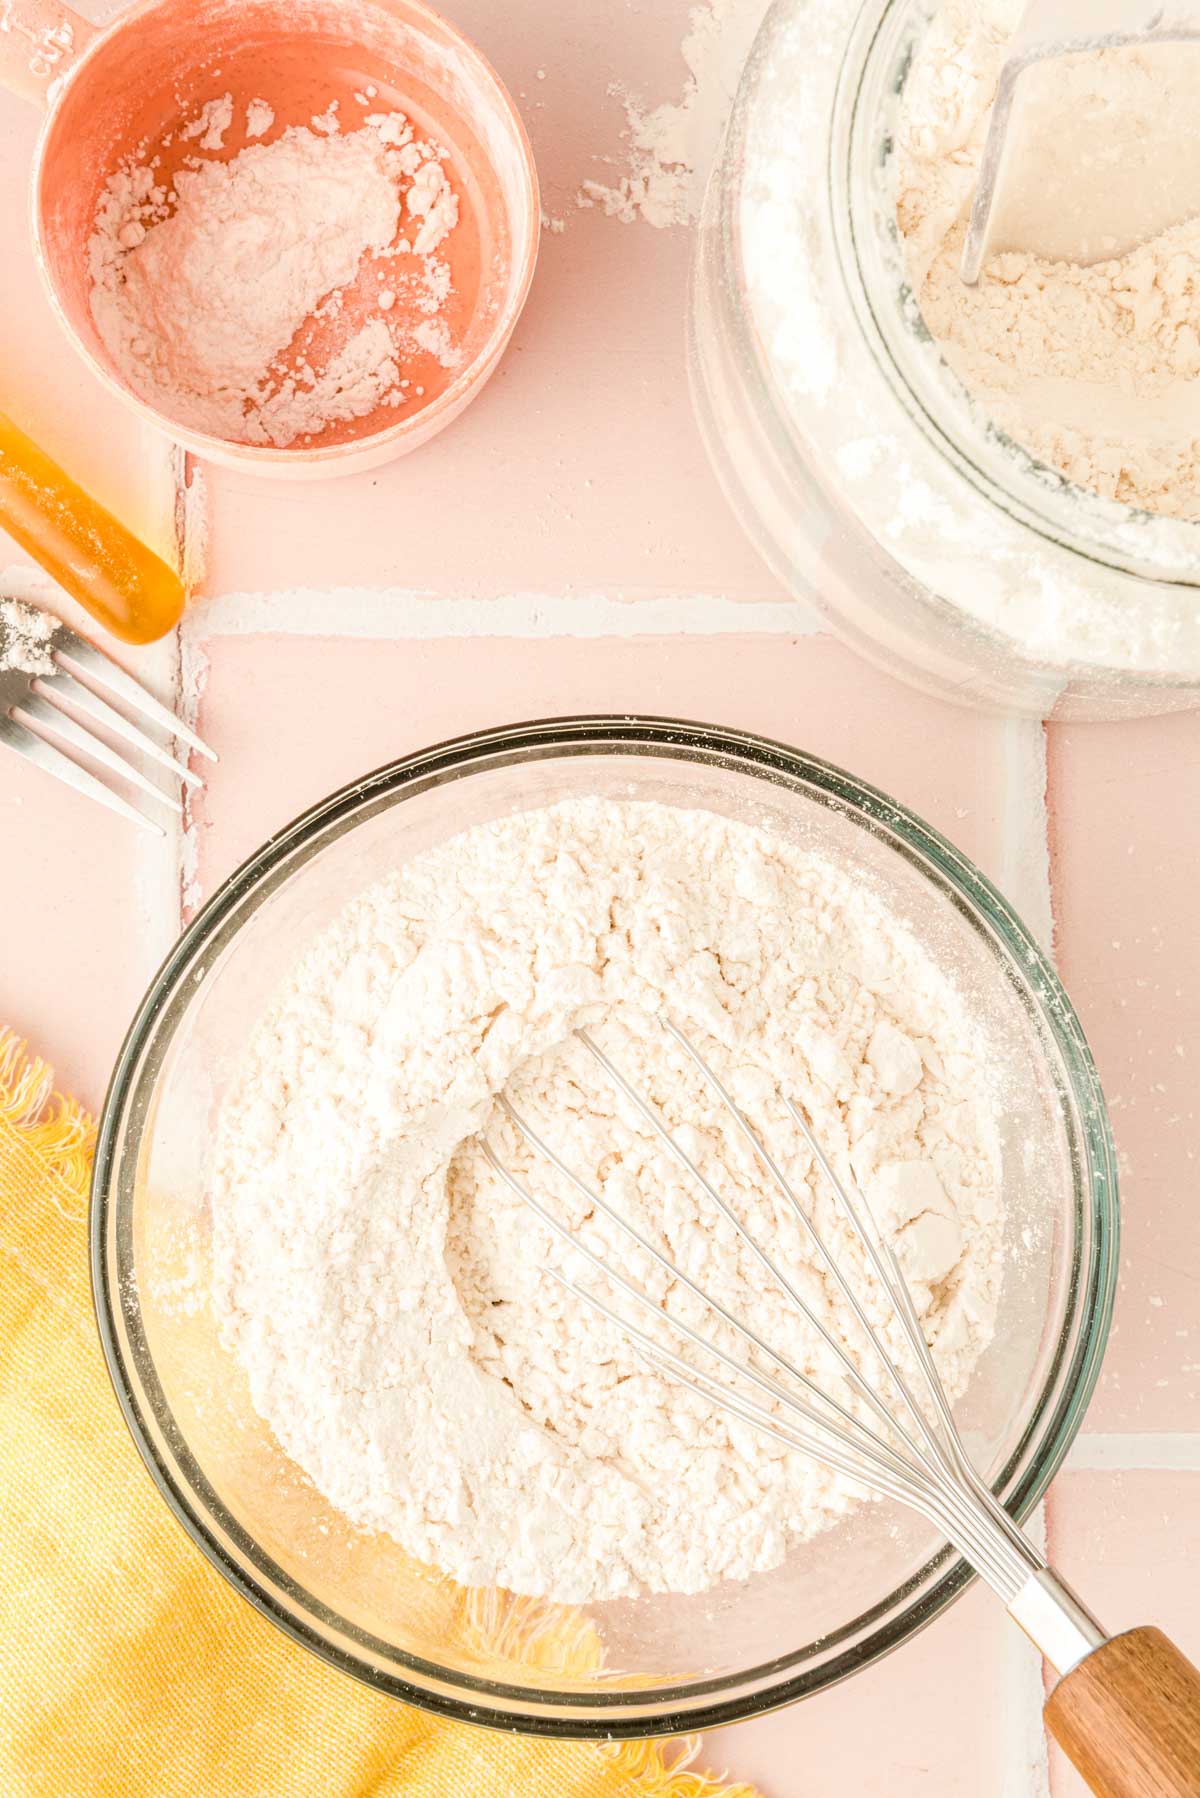
- Spread the flour in a microwave-safe bowl, making sure it’s spread out evenly.
- Microwave the flour on high for 30-second intervals, stirring between each interval.
- Use a thermometer to check that the flour has reached at least 165°F (74°C).
- Let the flour cool completely before using it.
While the microwave method is faster, it’s a bit trickier to get the temperature just right. Be sure to stir the flour frequently to prevent hot spots and ensure even heating.
What Type of Flour Can Be Heat Treated?
Good news—pretty much any type of flour can be heat treated! Whether you’re working with all-purpose flour, whole wheat flour, almond flour, or even gluten-free flour, the process is the same. Just keep in mind that different flours might behave slightly differently when heated, so you may need to adjust the cooking time or temperature accordingly.
Here’s a quick list of flours you can heat treat:
- All-purpose flour
- Whole wheat flour
- Almond flour
- Gluten-free flour blends
- Oat flour
- Rice flour
So, no matter what kind of flour you’re using, you can rest assured that it can be safely heat treated for your next project.
Does Heat Treating Flour Affect Its Quality?
This is a question that comes up a lot, and the short answer is no, heat treating flour doesn’t significantly affect its quality. Sure, the texture might be slightly different, but it’s barely noticeable in most recipes. The flavor remains pretty much the same, and the flour still performs as expected in baking.
In fact, some bakers argue that heat-treated flour can actually improve the texture of certain recipes, like no-bake cookies or cookie dough. So, not only are you making your flour safer to eat, but you might also be enhancing the final product!
Tips for Storing Heat-Treated Flour
Once you’ve heat treated your flour, it’s important to store it properly to maintain its quality. Here are a few tips to keep in mind:
- Let the flour cool completely before storing it.
- Transfer the flour to an airtight container to prevent moisture from getting in.
- Label the container with the date so you know how long it’s been stored.
- Store the flour in a cool, dry place, like your pantry or fridge.
- Use the flour within a week or two for best results.
By following these simple steps, you can ensure that your heat-treated flour stays fresh and ready to use whenever you need it.
Can You Freeze Heat-Treated Flour?
Absolutely! Freezing is a great way to extend the shelf life of your heat-treated flour. Just make sure you store it in an airtight container or freezer bag to prevent freezer burn. When you’re ready to use it, simply let it thaw at room temperature before incorporating it into your recipes.
Common Mistakes to Avoid When Heat Treating Flour
Now that you know how to heat treat flour, let’s talk about some common mistakes to avoid. These little slip-ups might seem harmless, but they can affect the quality of your flour or even compromise its safety. Here are a few things to watch out for:
- Not stirring the flour enough during the heating process, which can lead to uneven heating.
- Using too much flour at once, which can make it difficult to achieve an even temperature.
- Skipping the cooling step, which can cause the flour to clump or lose its texture.
- Not checking the temperature with a thermometer, which can result in undercooked or overcooked flour.
By being mindful of these potential pitfalls, you can ensure that your heat-treated flour turns out perfectly every time.
Recipes That Require Heat-Treated Flour
Now that you know how to heat treat flour, let’s talk about some delicious recipes you can make with it. Here are a few ideas to get you started:
- No-bake cookies
- Cookie dough ice cream
- Edible playdough
- Homemade granola bars
- Energy balls
These recipes are not only fun to make, but they’re also safe to eat thanks to your heat-treated flour. So, go ahead and get creative in the kitchen!
Conclusion: Why Heat Treating Flour Matters
And there you have it—everything you need to know about how to heat treat flour. By taking the time to heat treat your flour, you’re not only ensuring its safety but also unlocking a world of possibilities for your baking projects. Whether you’re making no-bake treats or edible playdough, heat-treated flour is your new best friend.
So, what are you waiting for? Grab your flour, your oven, and your thermometer, and get to work. And don’t forget to share your creations with us in the comments below—we’d love to see what you come up with!
Table of Contents
- Why Should You Heat Treat Flour?
- What Happens If You Don’t Heat Treat Flour?
- How Do I Heat Treat Flour: The Basics
- Method 1: Oven-Baked Heat Treatment
- Method 2: Microwave Heat Treatment
- What Type of Flour Can Be Heat Treated?
- Does Heat Treating Flour Affect Its Quality?
- Tips for Storing Heat-Treated Flour
- Common Mistakes to Avoid When Heat Treating Flour
- Recipes That Require Heat-Treated Flour
- Who Manufactures Mini Coopers The Hidden Story Behind The Iconic Brand
- Chinese Horoscope 1985 Animal Discover Your Zodiac Power
How to Heat Treat Flour Quick & Easy Process
How To Heat Treat Flour (2 Ways) Sugar and Soul
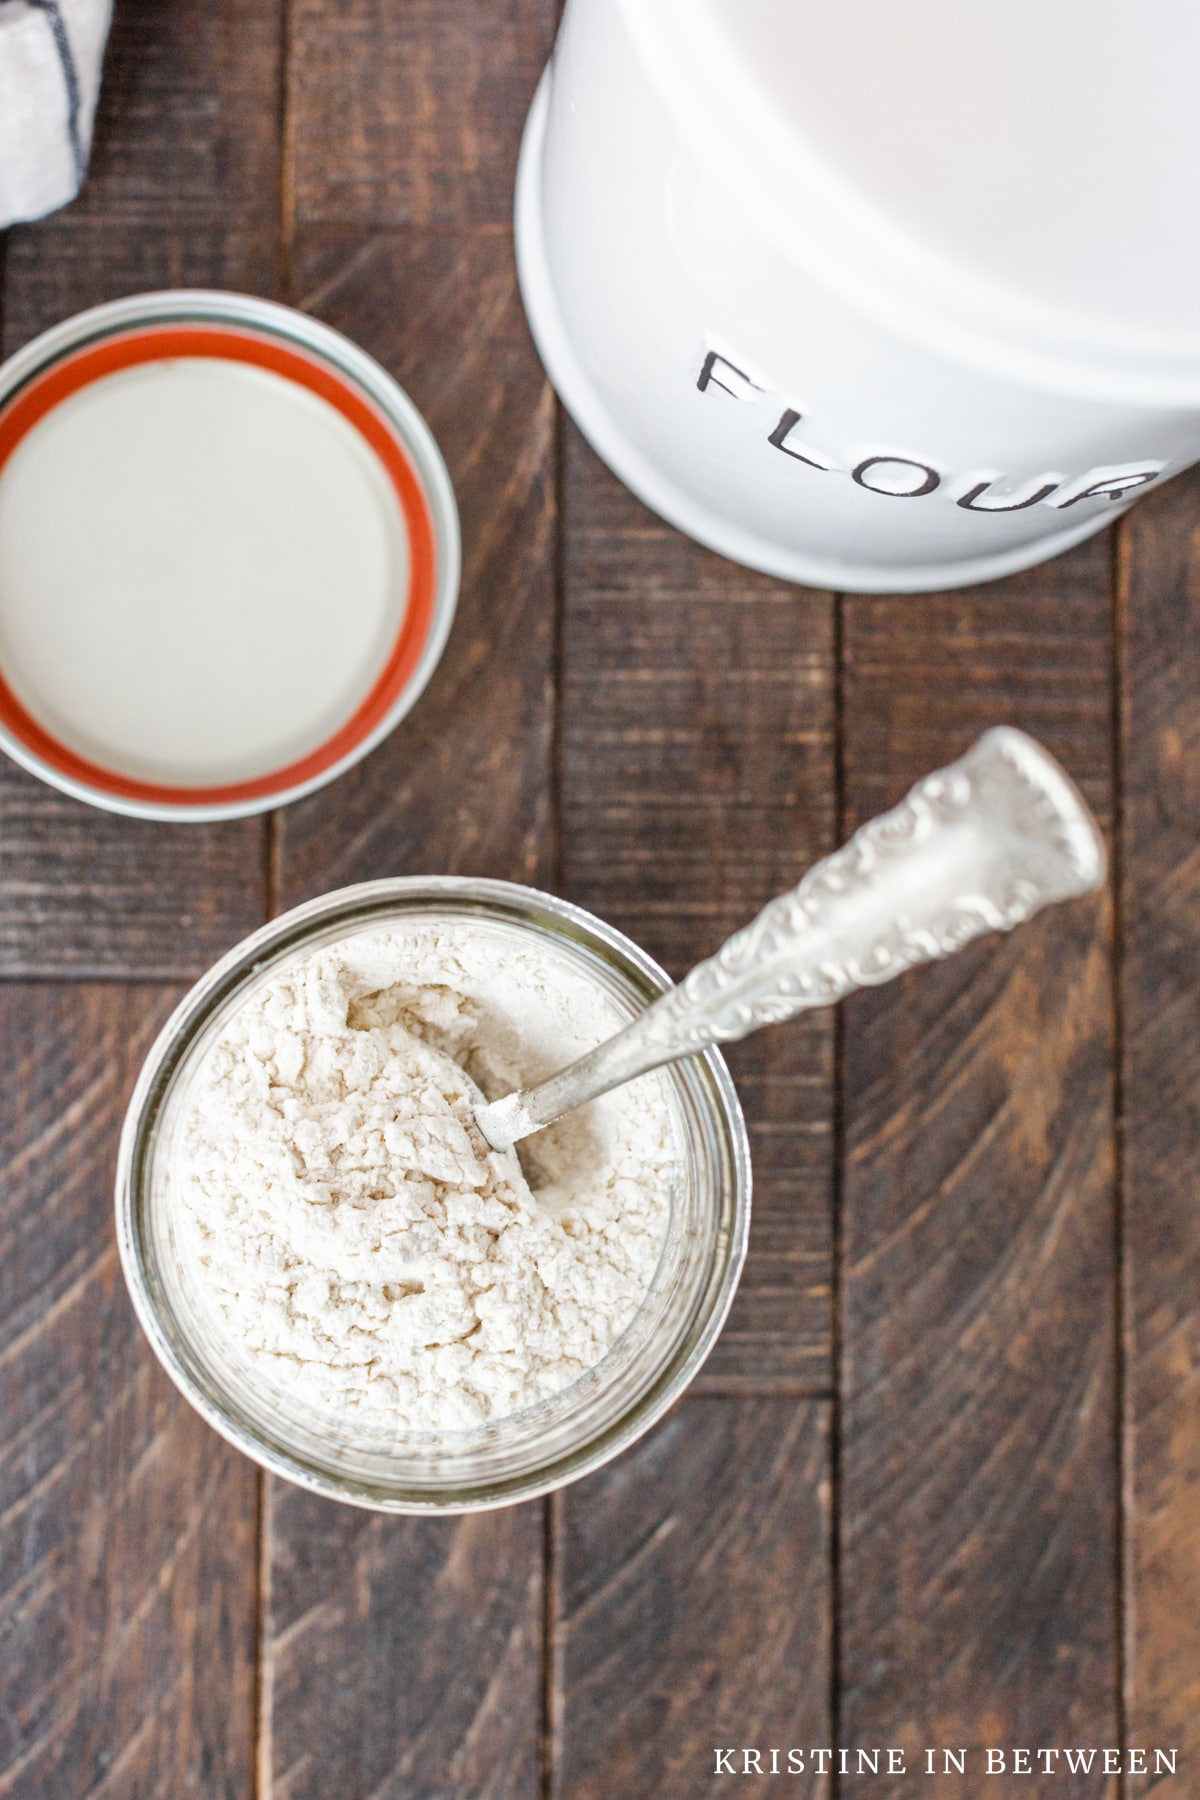
How To Heat Treat Flour in the Microwave Kristine in Between
